How to Clean Leather Work Boots
Why Clean Leather Work Boots Regularly
Dirt and grime destroy leather fibers. Salt deposits cause permanent stains. Oil and grease break down protective coatings. Regular cleaning extends boot life by three to five years.

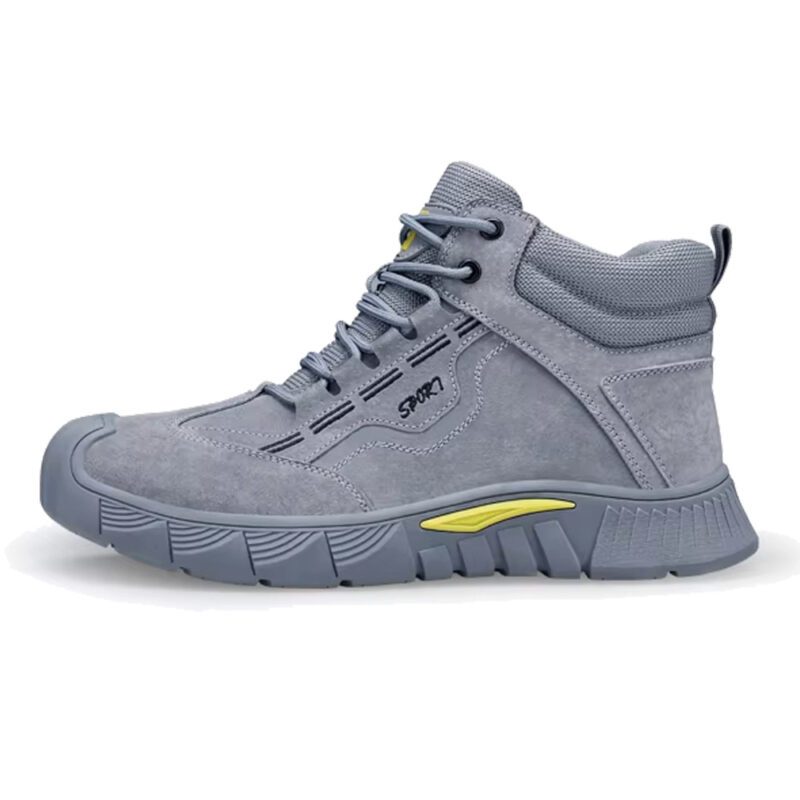
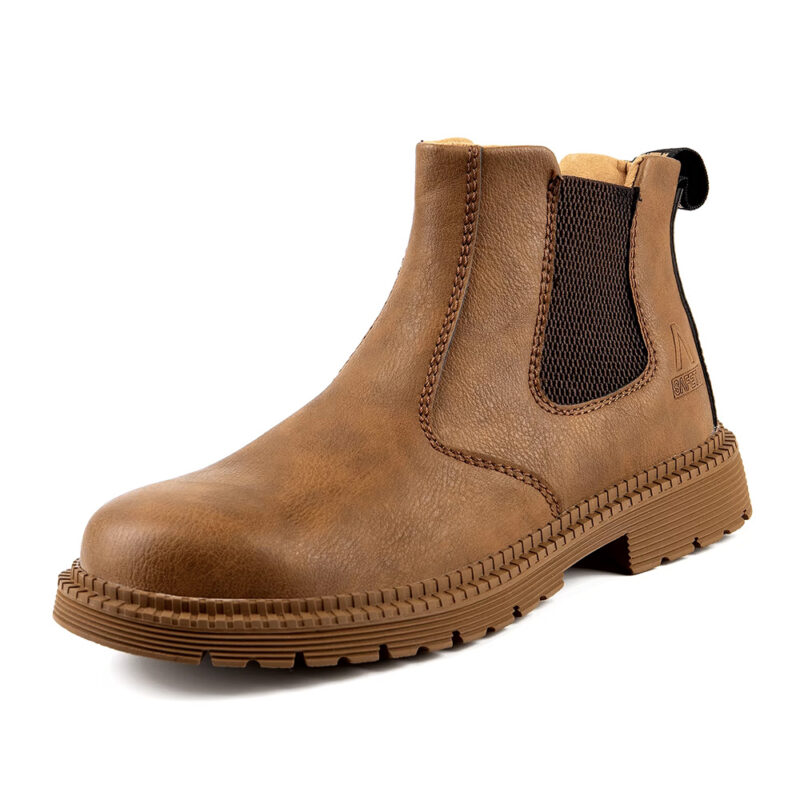
When your workday involves heavy machinery, falling objects, and unforgiving terrain, the Birks Defender Kevlar Steel Toe Safety Work Boots stand ready to protect you through it all. These boots deliver the exceptional durability, reliable protection, and all-day comfort you need to tackle any challenge and get the job done right, every single time.
Clean boots perform better. Debris clogs breathable membranes. Mud adds weight and reduces flexibility. Dried salt draws moisture from leather, creating cracks.
Your boots cost $150 to $400. Proper cleaning protects this investment. Replace boots every five years instead of every two years.
History of Leather Work Boot Care
Soldiers in ancient Rome applied animal fats to their leather sandals. This practice continued through medieval times. Blacksmiths and laborers used rendered tallow from cattle.
The 1800s brought commercial leather care products. Saddle soap emerged as the standard cleaner. Mink oil became popular in the early 1900s.
Modern chemistry introduced synthetic conditioners in the 1950s. These products penetrate deeper than natural oils. Today’s cleaners contain pH-balanced formulas that match leather’s natural acidity.
Work boot manufacturers now provide specific care instructions. Red Wing developed their own leather cream in 1905. Danner followed with specialized cleaners in the 1930s.
Tools and Materials You Need
Gather these items before you start:
- Horsehair brush – Removes surface dirt without scratching
- Nylon brush – Cleans deeper treads and welts
- Microfiber cloths – Three to four for cleaning and buffing
- Saddle soap or leather cleaner
- Leather conditioner – Mink oil, neatsfoot oil, or synthetic formula
- Water – Room temperature, not hot
- Small bowl – For mixing cleaning solution
- Old toothbrush – Reaches tight spaces
- Boot trees or newspaper – Maintains shape during drying
Optional materials for specific issues:
- White vinegar for salt stains
- Baking soda for odors
- Leather degreaser for oil stains
- Suede eraser for nubuck leather
Step-by-Step Cleaning Process
Remove Loose Dirt and Debris
Take your boots outside. Knock them together sole-to-sole. This removes large chunks of dried mud.
Use the horsehair brush on the uppers. Brush in long strokes following the leather grain. Apply light pressure.
Clean the welts where the upper meets the sole. Use the nylon brush here. Dirt accumulates in these crevices and causes premature separation.
Brush the tongue thoroughly. Remove debris from eyelets with the toothbrush.
Clean the Soles and Treads
Turn boots upside down. Pick out stones and debris from treads with a dull knife or screwdriver.
Scrub treads with the nylon brush under running water. Remove all mud and organic matter. This prevents bacteria growth and odors.
Dry soles with a cloth before moving to leather cleaning.
Prepare Your Cleaning Solution
Mix warm water with saddle soap in a bowl. Create light foam consistency. Too much soap leaves residue.
Alternative: Use commercial leather cleaner undiluted. Follow product instructions for concentration.
Test your solution on a hidden area first. Apply to the inside of the tongue. Wait five minutes. Check for discoloration.
Clean the Leather Uppers
Dampen a microfiber cloth with your cleaning solution. Wring out excess water. The cloth should be damp, not soaking wet.
Wipe the entire boot surface using circular motions. Work in small sections – about four square inches at a time.
Apply more pressure on stained areas. Avoid saturating the leather. Excess water damages the internal structure.
Clean seams carefully. Dirt trapped in stitching causes thread deterioration.
Address Specific Stains
Salt stains: Mix equal parts white vinegar and water. Apply with a cloth. Blot, don’t rub. The acid neutralizes alkaline salt deposits.
Oil stains: Apply leather degreaser. Let it sit for ten minutes. Wipe clean with a damp cloth. Repeat if necessary.
Scuff marks: Use saddle soap at full strength. Apply directly to scuff. Rub gently with a soft cloth.
Mud stains: Let mud dry completely first. Brush off dried mud. Then clean with standard solution.
Rinse and Remove Soap Residue
Dampen a fresh cloth with clean water. Wipe down all cleaned areas. Remove all soap traces.
Soap residue attracts dirt. It also dries out leather over time.
Check seams and creases carefully. Soap hides in these areas.
Dry Your Boots Properly
Insert boot trees or stuff with newspaper. This maintains shape during drying.
Place boots in a well-ventilated area away from direct heat. Never use hairdryers, radiators, or direct sunlight.
Room temperature drying takes 24 to 48 hours. Rushed drying causes leather to crack and shrink.
Change newspaper every few hours if used. Wet newspaper stops absorbing moisture.
Position boots upright. Don’t lay them on their sides. This prevents water pooling in the toe box.
Conditioning Leather After Cleaning
Wait until boots are completely dry. Touch the tongue interior – it dries last.
Apply leather conditioner with a clean cloth. Use small amounts. A quarter-sized dollop covers one boot.
Work conditioner into leather using circular motions. Pay extra attention to flex points – the vamp and ankle areas crack first here.
Let conditioner absorb for 20 minutes. Wipe off excess that hasn’t soaked in.
Choosing the Right Conditioner
Mink oil: Deep conditioning for heavily worn boots. Darkens leather significantly. Best for winter protection.
Neatsfoot oil: Traditional choice. Softens stiff leather. Can over-soften if used too frequently.
Synthetic conditioners: Won’t darken leather. Contain UV protection. Dry faster than natural oils.
Beeswax blends: Add water resistance. Create protective surface layer. Require more buffing.
| Conditioner Type | Darkening Effect | Water Resistance | Drying Time | Best For |
|---|---|---|---|---|
| Mink Oil | High | Excellent | 2-3 hours | Winter, wet conditions |
| Neatsfoot Oil | Medium | Good | 3-4 hours | General maintenance |
| Synthetic | None | Very Good | 1-2 hours | Preserving color |
| Beeswax Blend | Low | Excellent | 1 hour | Maximum protection |
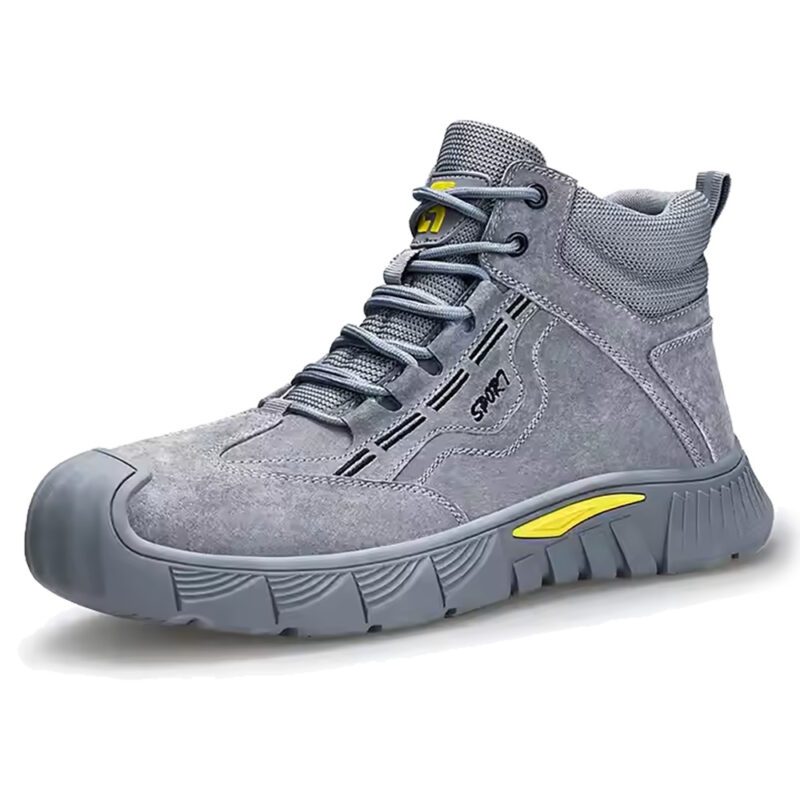
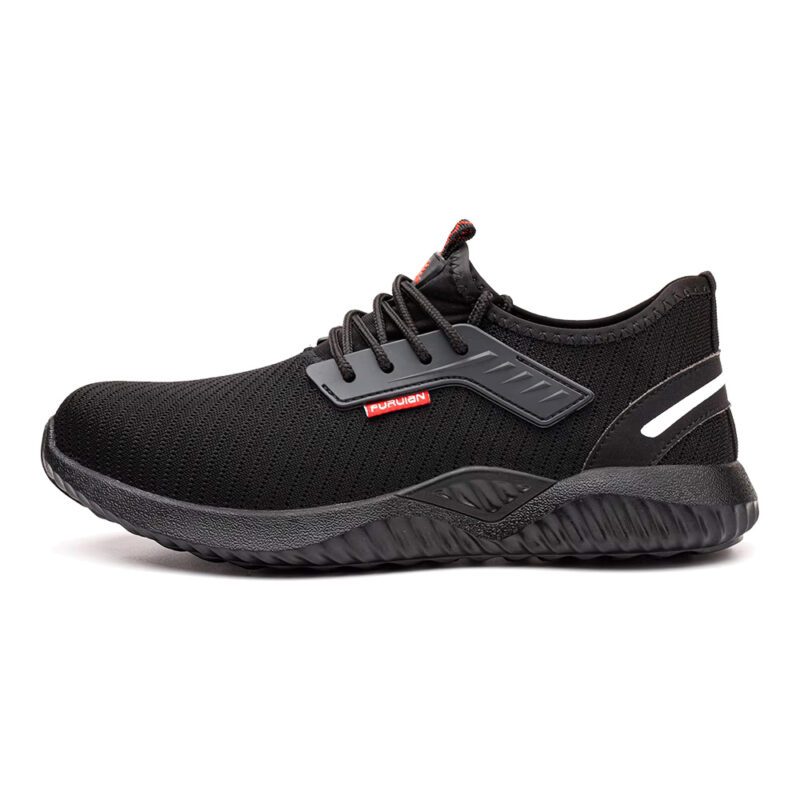
When your workday involves heavy machinery, falling objects, and unforgiving terrain, the Birks Defender Kevlar Steel Toe Safety Work Boots stand ready to protect you through it all. These boots deliver the exceptional durability, reliable protection, and all-day comfort you need to tackle any challenge and get the job done right, every single time.
How Often to Clean Your Boots
Daily: Brush off surface dirt after each use.
Weekly: Deep clean if working in muddy or wet conditions.
Monthly: Full cleaning and conditioning for regular use in dry conditions.
Seasonally: Deep clean before storage. Protects leather during off-season.
Construction workers need weekly cleaning. Office workers who occasionally wear boots need monthly maintenance.
Special Considerations for Different Leather Types
Full-Grain Leather
This is the most durable type. Use standard cleaning methods. Avoid excessive water. Condition every four to six weeks.
Oil-Tanned Leather
Apply less conditioner. This leather already contains high oil content. Clean with minimal water – wipe with a damp cloth only.
Nubuck and Suede
Never use water-based cleaners. Use a suede brush with brass bristles. Apply suede-specific cleaners. Use a suede eraser for scuffs.
Chrome-Tanned Leather
Accepts more water than other types. Clean more frequently. Dries faster. Needs less conditioning.
Pull-Up Leather
Contains oils that create color variation when stretched. Clean gently. Minimal conditioning required. Oils naturally resurface.
Common Mistakes That Damage Boots
Using hot water: Breaks down leather fibers. Causes shrinkage. Always use room temperature water.
Over-conditioning: Makes leather too soft. Reduces structural support. Condition only when leather feels dry.
Machine washing: Destroys adhesives. Separates layers. Ruins waterproof membranes.
Direct heat drying: Creates cracks. Causes permanent damage. Always air dry.
Ignoring the welts: Dirt accumulation here causes sole separation. Clean welts every time.
Storing dirty boots: Dirt contains bacteria and fungi. These organisms feed on leather. Clean before storage.
Using dish soap: Too harsh for leather. Strips natural oils. Use saddle soap or leather-specific cleaners.
Protecting Boots Between Cleanings
Apply waterproofing spray after conditioning. Reapply every month during wet seasons.
Store boots in a cool, dry place. Avoid plastic bags – leather needs air circulation.
Use boot trees or stuff with newspaper when not wearing. This prevents creasing and maintains shape.
Rotate between two pairs if possible. Boots need 24 hours to fully dry between wears.
Apply edge dressing to sole edges. This prevents water infiltration at the welt.
When Professional Cleaning is Necessary
Deep oil saturation requires professional degreasing. Home methods can’t remove petroleum-based contamination completely.
Mold growth needs professional treatment. Spores penetrate deep into leather layers.
Structural damage like torn welts or separated soles requires cobbler intervention before cleaning.
Exotic leathers need specialist care. Snake, alligator, and ostrich require different cleaning approaches.
Extending Boot Life Through Proper Care
Clean boots last 60% longer than neglected boots. A $200 pair maintained properly serves five to seven years. The same boots without care fail in two to three years.
Conditioning prevents 90% of cracking issues. Cracks let water inside. This damages insoles and causes foot problems.
Regular cleaning maintains safety ratings. Clean treads provide better traction. OSHA requires adequate tread depth for workplace safety.
Your investment in quality work boots deserves protection. Spend 20 minutes every two weeks on maintenance. Save hundreds of dollars in replacement costs.
Clean leather breathes better. This reduces foot odor and prevents fungal infections. Workplace comfort increases productivity.
Final Cleaning Checklist
Follow these steps every cleaning session:
- Remove all surface dirt with brushes
- Clean soles and treads separately
- Test cleaning solution on hidden area
- Clean uppers with damp cloth and soap
- Address specific stains with appropriate treatments
- Rinse away all soap residue
- Air dry for 24-48 hours
- Apply appropriate conditioner
- Buff and polish if desired
- Apply waterproofing protection
Keep a dedicated boot care kit in your garage or mudroom. This makes regular maintenance convenient.
Document your cleaning schedule. Note the date of each cleaning and conditioning. This helps track when the next session is due.
Quality leather work boots protect your feet and ankles. They provide the foundation for safe, productive work. Proper cleaning ensures this protection continues year after year.
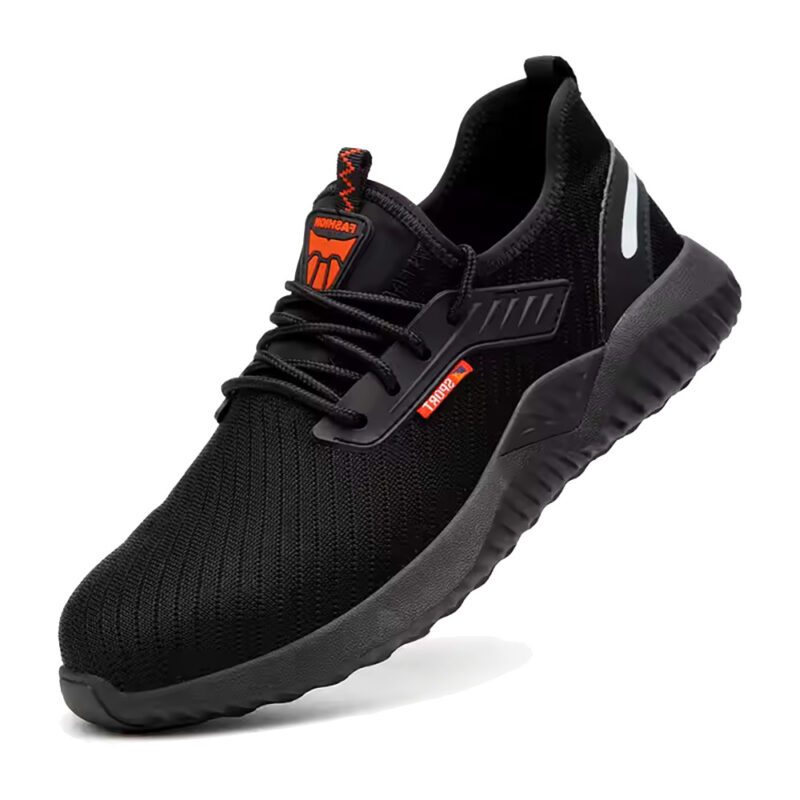
When your workday involves heavy machinery, falling objects, and unforgiving terrain, the Birks Defender Kevlar Steel Toe Safety Work Boots stand ready to protect you through it all. These boots deliver the exceptional durability, reliable protection, and all-day comfort you need to tackle any challenge and get the job done right, every single time.