How to Tie Work Boots
Understanding Work Boot Lacing Basics
Work boots protect your feet in harsh conditions. Proper lacing keeps your boots secure and prevents injuries. The right technique reduces foot fatigue and improves ankle support.

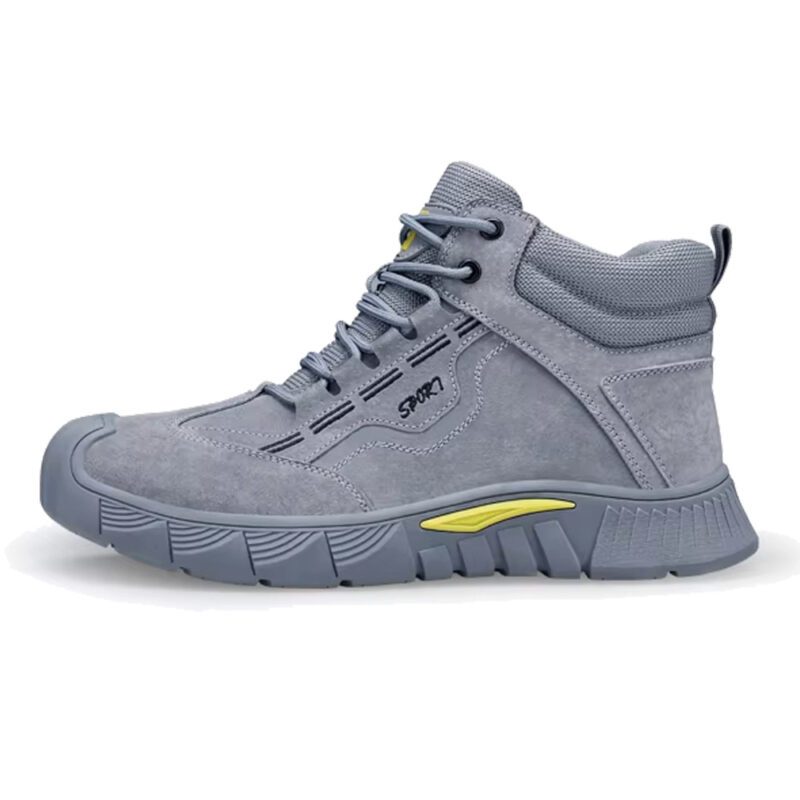
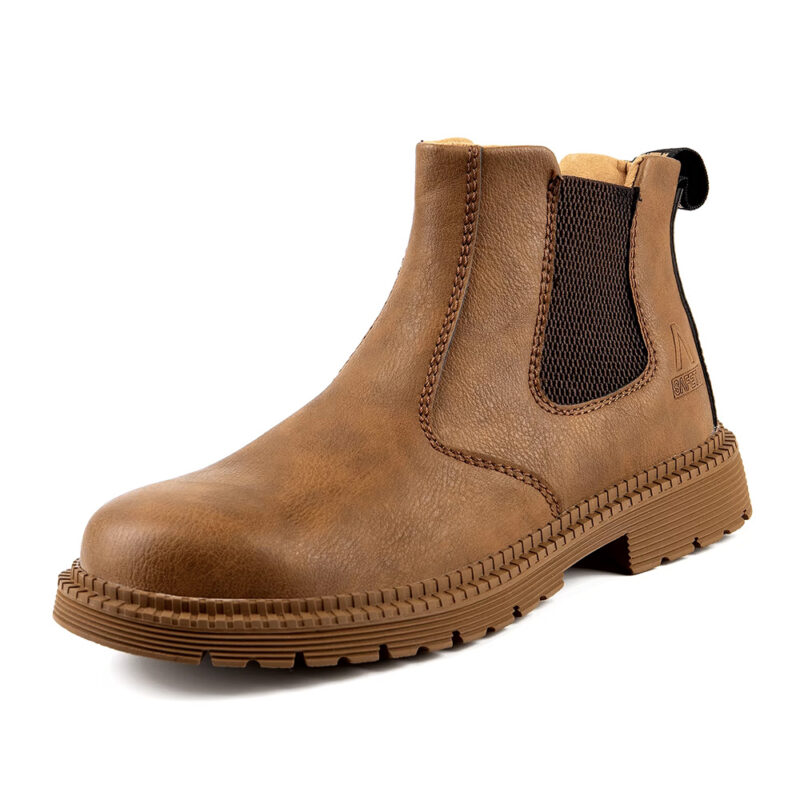
When your workday involves heavy machinery, falling objects, and unforgiving terrain, the Birks Defender Kevlar Steel Toe Safety Work Boots stand ready to protect you through it all. These boots deliver the exceptional durability, reliable protection, and all-day comfort you need to tackle any challenge and get the job done right, every single time.
Most work boots feature 6 to 8 eyelets per side. Some models include speed hooks at the top for faster lacing. The lacing method you choose affects comfort, stability, and boot longevity.
Standard lacing components include:
- Metal or plastic eyelets
- Speed hooks or D-rings
- Laces (typically 54-72 inches long)
- Tongue padding
- Ankle collar support
The History of Boot Lacing Methods
Military forces developed modern boot lacing techniques in the early 1900s. Soldiers needed secure footwear that stayed tight during long marches. The Army instituted specific lacing standards to reduce foot injuries and improve performance.
Industrial workers adopted these methods in the 1920s. Factory owners recognized that proper boot lacing decreased workplace accidents. Construction sites and mines required workers to master secure lacing techniques.
The criss-cross pattern emerged as the standard method in the 1940s. This pattern distributes pressure evenly across the foot. Engineers tested various lacing styles and found criss-cross provided optimal support.
Modern work boot manufacturers now design eyelets specifically for different lacing methods. Safety regulations in many industries require workers to tie boots correctly before entering job sites.
Standard Criss-Cross Lacing Method
This technique works for most work boot styles. The method provides balanced tension and even pressure distribution.
Step-by-step instructions:
- Insert the lace through the bottom eyelets from outside to inside
- Pull both lace ends until they reach equal length
- Cross the right lace over to the left side
- Thread it through the next eyelet from bottom to top
- Cross the left lace over to the right side
- Thread it through the corresponding eyelet
- Continue this pattern up the boot
- Maintain consistent tension as you lace
- Reach the top eyelets or speed hooks
- Tie a secure double knot
The criss-cross pattern creates an X-shape up the boot front. This distributes pressure across the entire foot width. Your ankle receives uniform support from all directions.
Bar Lacing for High-Pressure Points
Bar lacing reduces pressure on sensitive foot areas. This method works well if you experience discomfort across your foot’s top.
How to execute bar lacing:
- Start with the lace running straight across the bottom eyelets
- Feed the right end up through the next right eyelet
- Run that lace straight across to the left side
- Feed the left end up two eyelets on the left side
- Run that lace straight across to the right side
- Continue alternating this pattern
- Create horizontal bars across the boot front
- Finish with a standard knot
Bar lacing creates less friction against your foot. The horizontal bars sit flat and don’t create pressure peaks. This method benefits workers who wear boots for 10+ hour shifts.
Ladder Lacing for Maximum Security
Ladder lacing provides the tightest hold. Military and tactical boot users prefer this method for extreme conditions.
Ladder lacing steps:
- Thread laces straight across the bottom eyelets from inside to outside
- Both lace ends come up through the next eyelets on their same sides
- Cross each lace under the vertical section on the opposite side
- Thread through the next eyelet on that side
- Both laces now travel up and create vertical bars
- Repeat the crossing under and threading pattern
- The laces form a ladder appearance
- Pull tight and tie securely
This method locks the laces in place. The vertical sections prevent loosening during movement. Ladder lacing takes longer to tie but stays secure all day.
Working with Speed Hooks
Speed hooks appear on the upper portion of many work boots. These metal or plastic hooks allow faster lacing than traditional eyelets.
Speed hook technique:
- Lace normally through the lower eyelets
- Reach the speed hooks and wrap the lace around each hook
- Do not thread through speed hooks like eyelets
- Maintain tension while wrapping
- Continue to the top hook
- Create a final wrap for security
Speed hooks let you loosen boots quickly at day’s end. You can adjust upper boot tightness without unlacing the entire boot. This saves time during breaks and shift changes.
Lacing for Wide Feet
Wide feet require modified lacing patterns. Standard methods can create painful pressure points.
Wide foot lacing approach:
- Skip the bottom eyelet on each side
- Start lacing from the second eyelet up
- Use a wider criss-cross angle
- Keep laces loose through the middle section
- Tighten only at the ankle area
- This creates more room in the toe box
You can also use parallel lacing for wide feet. Thread laces straight up on each side instead of crossing. This eliminates pressure across the foot’s widest point.
Lacing for Narrow Feet
Narrow feet need tighter lacing to prevent sliding. Heel slippage causes blisters and reduces stability.
Narrow foot solutions:
- Use the window lacing method at the ankle
- Skip one eyelet on each side before the ankle
- Cross laces through the next eyelet up
- This creates a gap or “window”
- Pull the laces tight above the window
- The gap locks the laces and prevents loosening
This technique cinches the ankle area separately from the rest of the boot. Your heel stays locked in place during movement.
Preventing Heel Slippage
Heel slippage is the most common work boot complaint. The heel lifts out of the boot during walking or climbing.
Lacing solution for heel lock:
- Lace normally until you reach the second-to-last eyelet
- Thread each lace end up through the top eyelet on its same side (don’t cross)
- This creates a small loop on each side
- Cross the right lace through the left loop
- Cross the left lace through the right loop
- Pull tight to create a locking mechanism
- Tie your knot as normal
This heel lock method (also called runner’s loop) anchors your heel firmly. The loops create extra friction that prevents loosening.
Comparison of Lacing Methods
| Method | Security Level | Speed | Best For | Pressure Distribution |
|---|---|---|---|---|
| Criss-Cross | Medium | Fast | General use | Even |
| Bar Lacing | Medium | Medium | Sensitive feet | Reduced top pressure |
| Ladder Lacing | High | Slow | Extreme conditions | Very even |
| Heel Lock | High | Medium | Heel slippage | Focused on ankle |
| Parallel | Low | Fast | Wide feet | Minimal side pressure |
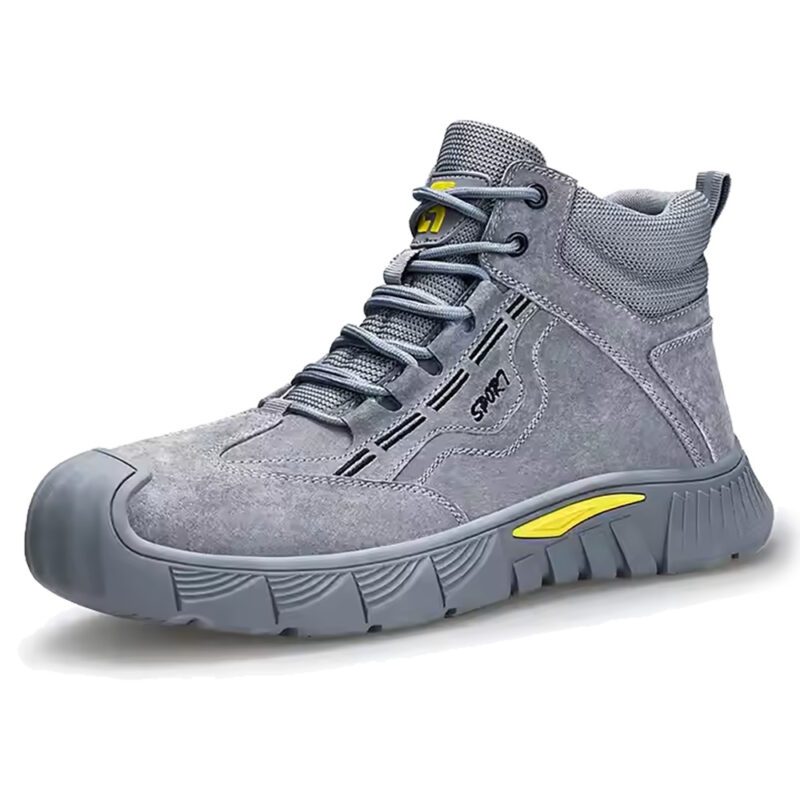
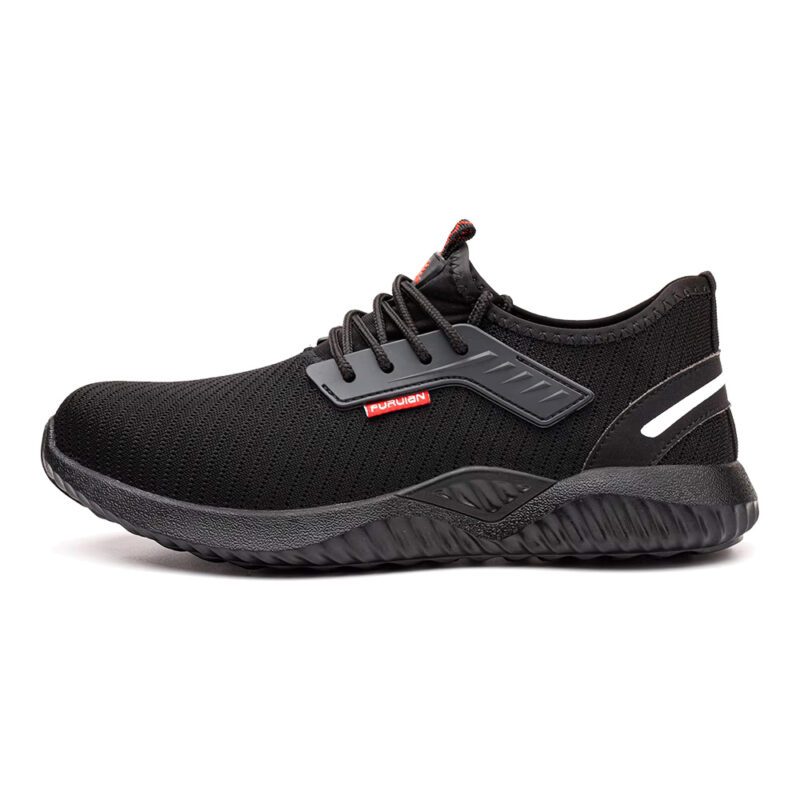
When your workday involves heavy machinery, falling objects, and unforgiving terrain, the Birks Defender Kevlar Steel Toe Safety Work Boots stand ready to protect you through it all. These boots deliver the exceptional durability, reliable protection, and all-day comfort you need to tackle any challenge and get the job done right, every single time.
Choosing the Right Laces
Lace material affects durability and performance. Work boots typically come with standard cotton-poly blend laces.
Lace material options:
- Cotton blend: Comfortable, holds knots well, wears moderately fast
- Nylon: Very durable, resists moisture, can loosen during the day
- Kevlar: Extremely strong, lasts longest, more expensive
- Leather: Traditional, very durable, requires break-in period
- Paracord: Military-grade strength, emergency backup utility
Lace thickness matters for different eyelet sizes. Measure your old laces or use this guide:
- 6 eyelets: 45-54 inches
- 7-8 eyelets: 54-63 inches
- 9-10 eyelets: 63-72 inches
- 11+ eyelets: 72-84 inches
Round laces hold knots better than flat laces. Flat laces look cleaner but require double knots.
Daily Lacing Best Practices
Consistency in lacing technique extends boot life. Follow these practices every time you put on work boots:
Morning routine:
- Loosen laces completely before inserting foot
- Ensure the tongue sits centered and flat
- Start tightening from the bottom eyelets
- Work upward systematically
- Pull each cross-section snug but not tight
- Tighten firmly only at the ankle area
- Tie a double knot
During work:
- Check laces at lunch break
- Retighten if you feel any looseness
- Replace damaged laces immediately
- Keep spare laces in your work bag
End of day:
- Loosen laces before removing boots
- Never force boots off while fully laced
- This prevents eyelet damage and maintains boot shape
Knot Tying Techniques
The standard bow knot loosens during work. Use these secure alternatives:
Double knot method:
- Tie a standard bow
- Take the loops and tie another overhand knot
- Pull tight
- This prevents accidental loosening
Reef knot (square knot):
- Cross right lace over left and pull through
- Cross left lace over right and pull through
- Creates a flat, secure knot
- Does not come loose easily
Surgeon’s knot:
- Cross laces twice before completing the first half of the knot
- Complete the bow normally
- Extra wrap creates friction
- Very secure for slippery laces
Avoid the granny knot (both crosses in the same direction). This knot loosens constantly and creates an unstable base.
Troubleshooting Common Lacing Problems
Problem: Laces break frequently
- Solution: Check for sharp eyelet edges. File down rough spots with fine sandpaper. Switch to Kevlar or leather laces.
Problem: Boots feel too tight across the top
- Solution: Use bar lacing or skip one eyelet pair in the pressure area. Try wider laces for better pressure distribution.
Problem: Ankle area feels unstable
- Solution: Add heel lock technique at the top two eyelets. Tighten ankle area more than the lower boot.
Problem: Laces constantly come untied
- Solution: Switch to round laces. Always use double knots. Consider lace locks or elastic lace systems.
Problem: Numbness in toes during work
- Solution: Laces are too tight. Loosen the lower three eyelet pairs. Check boot size—you may need a larger size.
Maintaining Your Laces
Laces wear out faster than boots. Regular maintenance extends their life:
Weekly care:
- Wipe laces with a damp cloth to remove dirt
- Check for fraying at eyelet contact points
- Apply leather conditioner to leather laces
Monthly inspection:
- Pull laces completely out
- Wash in warm water with mild soap
- Air dry completely before reinstalling
- Examine eyelets for damage
- Replace laces showing 20% or more fraying
Replacement schedule:
- Cotton/poly blend: Every 3-6 months
- Nylon: Every 6-12 months
- Kevlar: Every 12-18 months
- Leather: Every 12-24 months
Keep two sets of laces for each boot pair. Rotate them monthly to extend overall life.
Special Conditions and Adaptations
Different work environments require lacing adjustments.
Wet conditions:
- Tie knots tighter than normal
- Wet laces loosen more easily
- Synthetic laces perform better than cotton
- Apply waterproofing spray to laces
Cold weather:
- Wear thinner laces with insulated boots
- Thick laces create pressure points with heavy socks
- Nylon laces stay flexible in freezing temperatures
Hot environments:
- Loosen laces slightly for foot swelling
- Cotton blend laces breathe better than synthetics
- Check and retighten laces every 2-3 hours
Electrical work:
- Use non-conductive laces only
- Never use laces with metal tips
- Replace worn laces immediately
Summary
Proper boot lacing combines the right method with quality laces and consistent technique. Start with the criss-cross method for general use. Add specialized techniques like heel lock or bar lacing based on your foot shape and work demands. Check your laces daily and replace them at first signs of wear.
The few minutes spent lacing correctly each morning prevent foot pain, blisters, and workplace injuries. Master these techniques and your work boots will provide maximum comfort and protection throughout every shift.
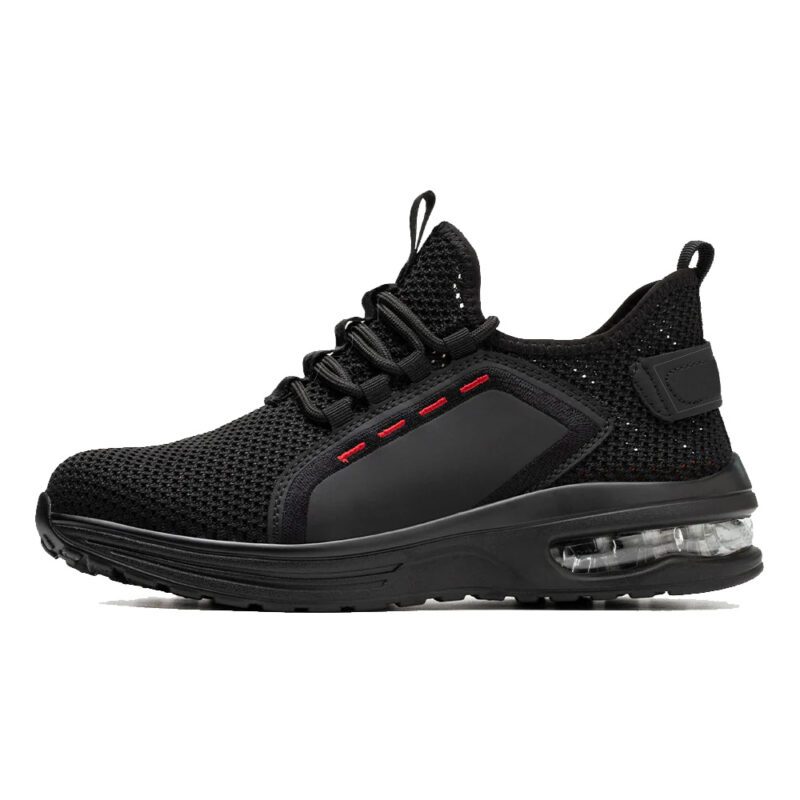
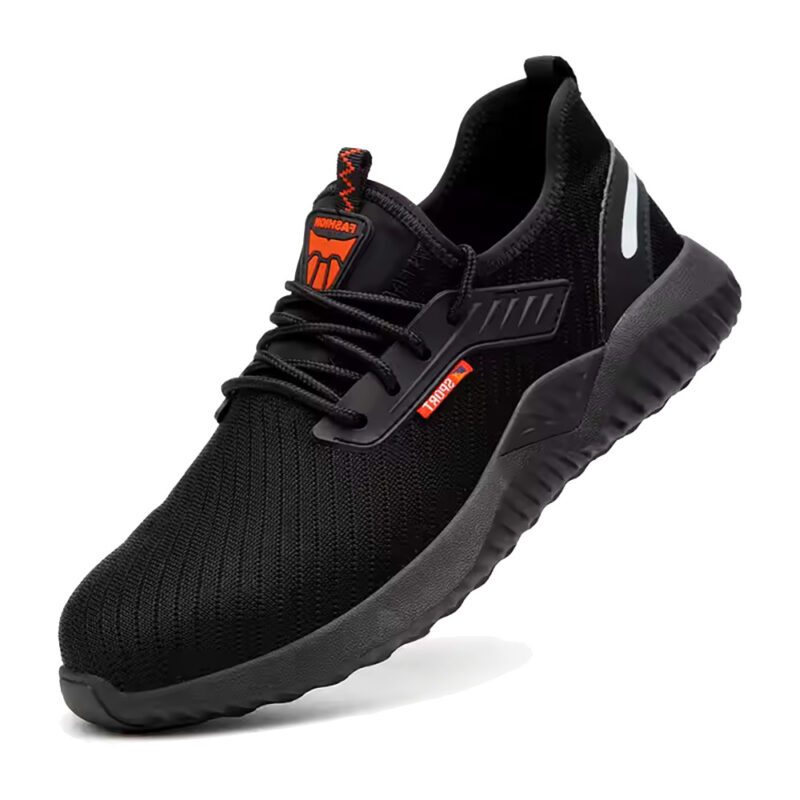
When your workday involves heavy machinery, falling objects, and unforgiving terrain, the Birks Defender Kevlar Steel Toe Safety Work Boots stand ready to protect you through it all. These boots deliver the exceptional durability, reliable protection, and all-day comfort you need to tackle any challenge and get the job done right, every single time.