How to Break in New Work Boots
Why Breaking in Work Boots Matters
New work boots feel stiff and uncomfortable right out of the box. The leather needs time to soften. The sole must flex with your foot. Breaking in your boots properly prevents blisters, reduces foot pain, and extends the life of your footwear.

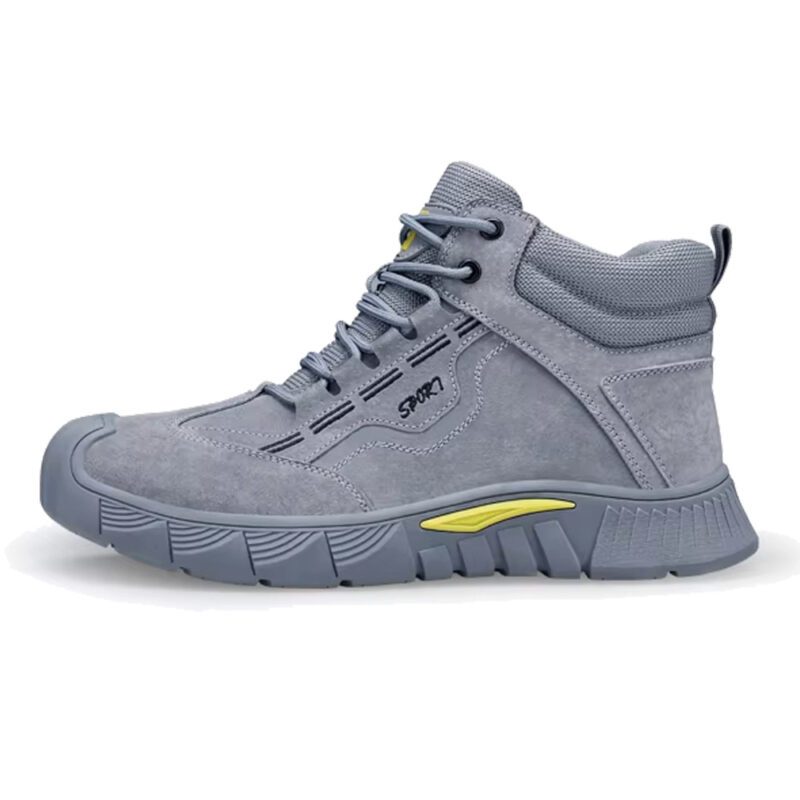
When your workday involves heavy machinery, falling objects, and unforgiving terrain, the Birks Defender Kevlar Steel Toe Safety Work Boots stand ready to protect you through it all. These boots deliver the exceptional durability, reliable protection, and all-day comfort you need to tackle any challenge and get the job done right, every single time.
Workers who skip this process often develop hot spots within hours. These painful areas can turn into open blisters that sideline you for days. A proper break-in period protects your feet and saves money by preventing premature boot failure.
The History of Work Boot Construction
Work boots evolved from military footwear in the early 1900s. Manufacturers used thick leather and Goodyear welt construction to create durable boots for laborers. This construction method attaches the upper leather to the sole through a strip of leather called a welt.
The Industrial Revolution increased demand for protective footwear. Coal miners needed boots that could withstand harsh conditions. Factory workers required steel toe protection. Boot makers responded by developing stiffer materials that took weeks to soften.
Modern work boots still use traditional construction methods. The leather remains thick and rigid to provide ankle support and protection. Steel, composite, or aluminum toe caps add safety but increase stiffness. Understanding this construction helps you appreciate why break-in time is essential.
Understanding Work Boot Materials
Leather Types
Full-grain leather comes from the top layer of the hide. This material offers maximum durability but requires the longest break-in period. The tight fibers resist bending initially but mold perfectly to your foot over time.
Nubuck leather features a sanded surface that feels softer from day one. This material breaks in faster than full-grain but sacrifices some durability. Oil-tanned leather contains natural oils that make it more pliable immediately.
Sole Construction
Rubber soles flex more easily than traditional leather soles. They require less break-in time but may not last as long under extreme conditions. Vibram soles combine durability with flexibility, making them popular for work boots.
Leather midsoles add an extra layer between your foot and the ground. These layers compress and conform to your arch over time, creating a custom fit. The compression process takes several weeks of regular wear.
Pre-Wear Preparation Methods
Leather Conditioning
Apply leather conditioner to your new boots before wearing them. The conditioner penetrates the fibers and makes the leather more pliable. Use a product specifically designed for work boots, not shoe polish.
Rub the conditioner into the leather using circular motions. Pay special attention to the ankle area and toe box. These high-flex zones need extra softening. Let the boots absorb the conditioner overnight before wearing them.
Boot Stretching Spray
Boot stretching spray contains alcohol and other agents that temporarily soften leather. Spray the inside and outside of tight areas. Put on thick socks and wear the boots while the spray is still damp.
The leather will stretch and conform to your foot shape as it dries. This method works best for minor adjustments. Severe tightness requires additional techniques.
Manual Flexing
Bend the boots manually before your first wear. Flex the sole back and forth 20-30 times. This movement breaks up stiff materials and creates initial flex points. Twist the boot gently to loosen the leather.
Focus on the ball of the foot area where your boot bends during walking. Creating these initial flex points reduces the work your feet must do during the break-in period.
The Gradual Wear Approach
Week One: Short Sessions
Wear your new boots for 1-2 hours on the first day. Stay in a controlled environment where you can remove them if discomfort becomes painful. Walk on flat surfaces to identify pressure points.
Increase wear time by 30 minutes each day during the first week. Your feet need time to adjust gradually. Rushing this process causes blisters and delays the break-in timeline.
Week Two: Extended Use
Extend your wear time to 4-6 hours during the second week. Incorporate stairs and uneven surfaces into your routine. The varied terrain helps the sole flex in multiple directions.
Remove the boots during lunch breaks. This gives your feet a rest and allows the leather to cool and reshape. Examine your feet for red spots that indicate future blister locations.
Week Three: Full Work Days
Attempt full work days by week three. Your boots should feel noticeably softer. The leather will have started conforming to your unique foot shape. Minor discomfort is normal, but sharp pain indicates a problem.
Continue removing your boots during breaks when possible. The leather needs time to relax between wear sessions. This rest period prevents the material from developing stress cracks.
Advanced Breaking-In Techniques
The Wet Method
Warning: This technique works but can damage some leather types. Test on a small area first.
Dampen the inside of your boots with warm water. Put on thick wool socks and wear the boots until they dry completely. The leather will stretch and mold to your feet during this process.
This method cuts break-in time significantly but may darken the leather. Only use it if standard methods fail and you need immediate results.
The Freezer Method
Fill plastic bags with water and place them inside your boots. Put the boots in your freezer overnight. Water expands as it freezes, stretching the leather gently.
This technique works well for tight toe boxes. The gradual expansion won’t damage the leather like aggressive stretching might. Remove the bags once the ice melts to prevent water damage.
Heat Application
Use a hair dryer on medium heat while wearing thick socks and your boots. The heat softens the leather temporarily. Flex your feet while applying heat to encourage the leather to stretch in the right directions.
Keep the dryer moving to avoid hot spots that could damage the leather. Apply conditioner immediately after using this method to prevent the leather from drying out.
Managing Common Break-In Problems
Blisters and Hot Spots
Apply moleskin padding to areas that rub against your skin. This temporary barrier prevents blisters from forming during the break-in period. Replace the padding daily.
Use blister prevention tape on your heels and toes before putting on socks. This tape creates a smooth surface that reduces friction. Apply it directly to clean, dry skin for the best adhesion.
Heel Slippage
Some heel movement is normal in new boots. The leather will grip your heel better once it breaks in. Excessive slippage indicates incorrect sizing.
Add a heel grip pad to the inside of the boot. These adhesive pads reduce the space in the heel cup without affecting the rest of the fit. Lacing techniques can also reduce heel movement.
Pressure Points
Identify specific pressure points by wearing your boots around the house. Mark these areas with tape. Use a boot stretcher or the freezer method to target these specific zones.
A cobbler can stretch professional boots to eliminate persistent pressure points. This service costs less than buying new boots and ensures a perfect fit.
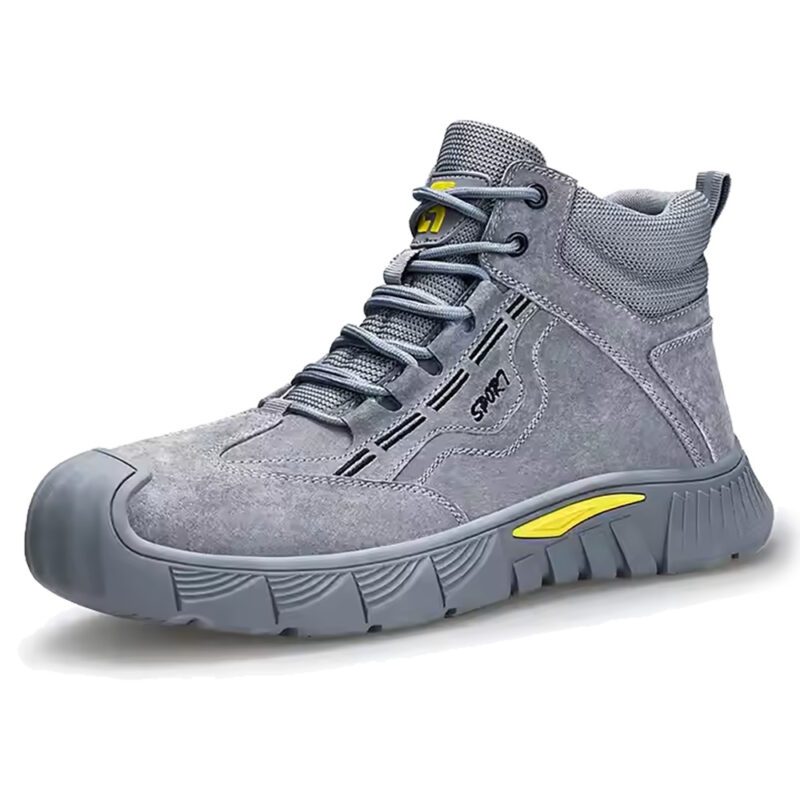
When your workday involves heavy machinery, falling objects, and unforgiving terrain, the Birks Defender Kevlar Steel Toe Safety Work Boots stand ready to protect you through it all. These boots deliver the exceptional durability, reliable protection, and all-day comfort you need to tackle any challenge and get the job done right, every single time.
Proper Sock Selection
Material Choices
Merino wool socks provide cushioning and moisture management. Wool prevents blisters by keeping your feet dry. The natural fibers compress less than synthetic materials.
Synthetic blend socks dry faster than cotton. They wick moisture away from your skin effectively. Choose socks with reinforced heels and toes for added protection during the break-in period.
Thickness Considerations
Wear thick socks during the initial break-in phase. The extra padding protects your feet from friction. Thick socks also stretch the leather slightly, speeding up the break-in process.
Switch to medium-weight socks once the boots soften. Overly thick socks can make broken-in boots feel too loose. Match your sock thickness to your work environment temperature.
Maintenance During Break-In
Daily Care
Remove dirt and debris from your boots after each wear. Dirt particles can accelerate leather breakdown during the flexible break-in period. Use a stiff brush to clean the sole and upper.
Air out your boots completely between wears. Stuff them with newspaper to absorb moisture and help them maintain their shape. Never store damp boots in a closed space.
Conditioning Schedule
Apply leather conditioner every two weeks during the break-in period. The leather loses natural oils as it flexes and stretches. Regular conditioning prevents cracking and maintains flexibility.
Avoid over-conditioning, which can make leather too soft and reduce its protective qualities. A thin layer applied evenly provides adequate moisture without saturating the material.
Breaking In Different Boot Styles
Steel Toe Boots
Steel toe boots require extra break-in time. The metal cap doesn’t conform to your foot. Focus on breaking in the leather around the toe cap rather than the cap itself.
Wear steel toe boots for shorter periods initially. The rigid toe box creates more pressure points than soft toe boots. Use the freeze method to create space in the toe box area.
Logger Boots
Logger boots feature higher shafts that require calf muscle adjustment. Walk up and down stairs frequently to flex the tall shaft. The leather around your calf will soften with repeated bending.
These boots take 4-6 weeks to break in fully. The extra material and reinforced construction demand patience. Don’t rush the process or you risk permanent discomfort.
Wellington Boots
Wellington boots slip on without laces. The shaft must fit snugly around your calf without laces to keep it in place. These boots often feel tight initially but stretch to conform to your leg shape.
The pull-on design means you can’t adjust the fit with lacing techniques. Choose the correct size initially. Use boot stretching spray on the shaft if it feels too restrictive.
Break-In Timeline Comparison
| Boot Type | Minimum Break-In Time | Maximum Break-In Time | Key Challenge |
|---|---|---|---|
| Soft Toe Leather | 2 weeks | 4 weeks | Ankle stiffness |
| Steel Toe | 3 weeks | 6 weeks | Toe box rigidity |
| Logger Boots | 4 weeks | 8 weeks | Shaft height |
| Wellington | 2 weeks | 5 weeks | Calf fit |
| Composite Toe | 2 weeks | 5 weeks | Moderate stiffness |
Signs Your Boots Are Properly Broken In
Your boots are ready for full-time use when you experience these changes:
- The leather feels soft when you flex the boot by hand
- You can wear them for a full shift without pain
- The insole has compressed to match your arch shape
- No new hot spots appear after hours of wear
- The boots require minimal effort to put on and remove
- The collar no longer digs into your ankles
Long-Term Boot Care After Break-In
Continue conditioning your boots monthly after the break-in period ends. The leather still needs moisture to prevent cracking. Clean and condition boots more frequently in harsh work environments.
Replace insoles every 6-12 months depending on use intensity. Worn insoles reduce the comfort you worked to achieve during break-in. Quality replacement insoles maintain proper arch support.
Inspect stitching and sole attachment regularly. Early detection of problems allows for repairs before complete failure. A cobbler can re-stitch separated seams and extend your boot life significantly.
Conclusion
Breaking in new work boots requires patience and proper technique. Start with leather conditioning and manual flexing before your first wear. Progress gradually from short wear sessions to full work days over 2-4 weeks.
Use advanced techniques like the wet method or freezer method only when standard approaches fail. Manage common problems with moleskin padding and proper sock selection. Different boot styles require varying break-in periods based on their construction and materials.
Well-broken-in boots provide years of comfortable protection. The time invested in proper break-in pays dividends in foot health and boot longevity. Follow these methods and your new work boots will become your most comfortable work footwear.
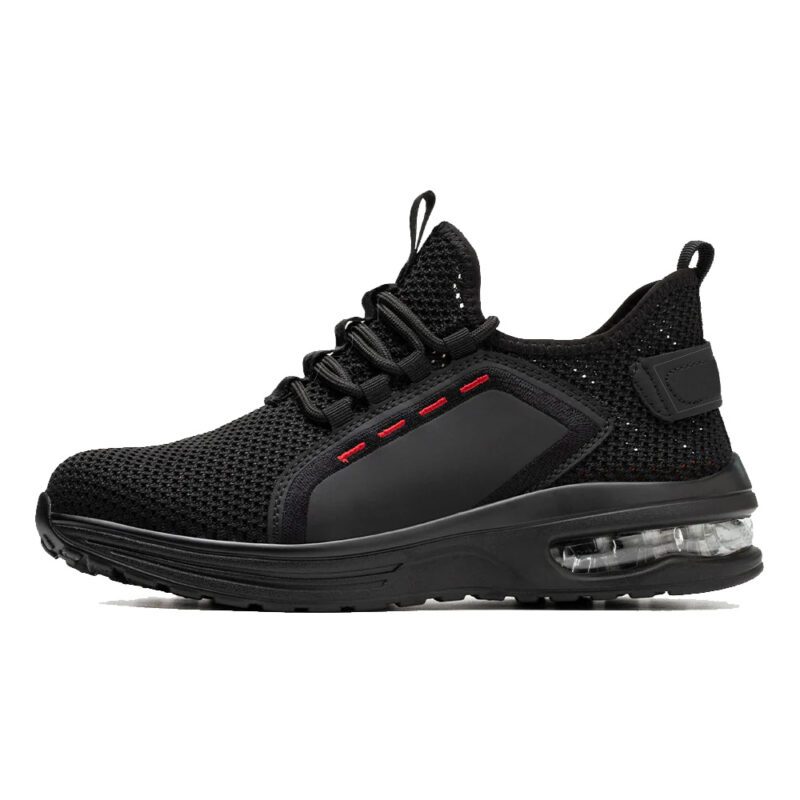
When your workday involves heavy machinery, falling objects, and unforgiving terrain, the Birks Defender Kevlar Steel Toe Safety Work Boots stand ready to protect you through it all. These boots deliver the exceptional durability, reliable protection, and all-day comfort you need to tackle any challenge and get the job done right, every single time.